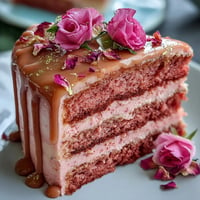
 Save to Pinterest
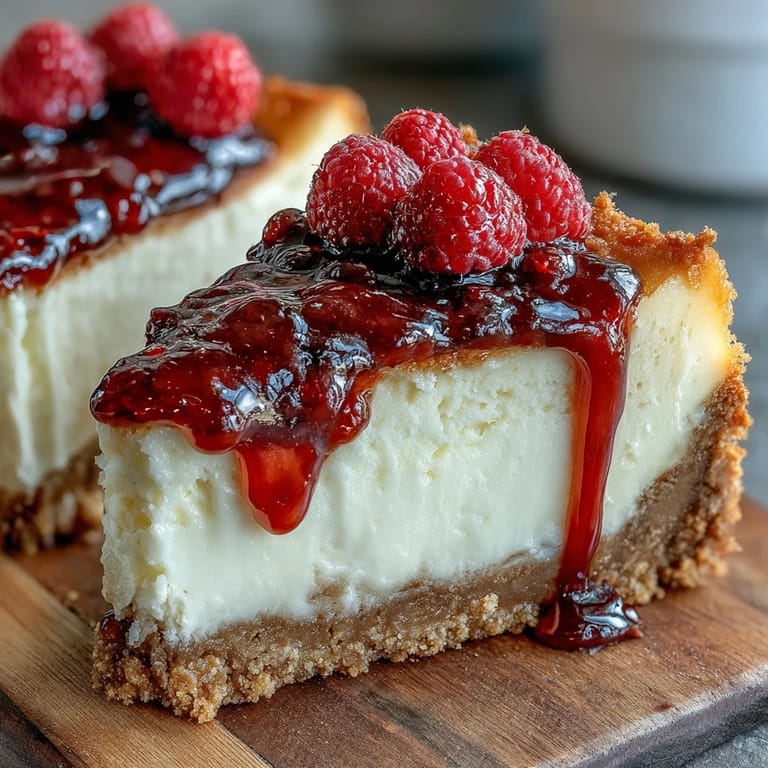
 My cousin called me panicked two weeks before her daughter's graduation party—she wanted something impressive but manageable, something guests could actually eat while mingling and taking photos. I suggested these cheesecake bites, and watching her face light up when I described them was worth more than any fancy dessert. The genius part? They're small enough to feel indulgent without being overwhelming, and they photograph like tiny edible masterpieces.
I made these for the first time on a humid June afternoon, and my kitchen filled with this buttery, sweet aroma that had my kids circling like sharks. By the time they came out of the oven, I'd already been asked seventeen times if they were done. That's when I knew I'd found something special—when people couldn't wait for the final product.
Ingredients
- Graham cracker crumbs: Use fresh, finely crushed crackers for the best texture; stale crackers can make the crust gritty and less cohesive.
- Granulated sugar: The two tablespoons in the crust provide sweetness and help bind the mixture, while the half cup in the filling creates that signature creamy richness.
- Unsalted butter, melted: Melting it first ensures even distribution throughout the crust and prevents dry, crumbly spots.
- Cream cheese, softened: This is non-negotiable—softened cream cheese beats smoothly without lumps, so pull it from the fridge 30 minutes before mixing.
- Large egg: Just one egg sets the filling without making it dense or cake-like; cold eggs can cause lumps, so use room temperature.
- Vanilla extract: A teaspoon is perfect for adding warmth without overpowering the delicate cheesecake flavor.
- Sour cream: This two tablespoon addition adds tang and helps achieve that creamy, slightly dense texture that makes cheesecake irresistible.
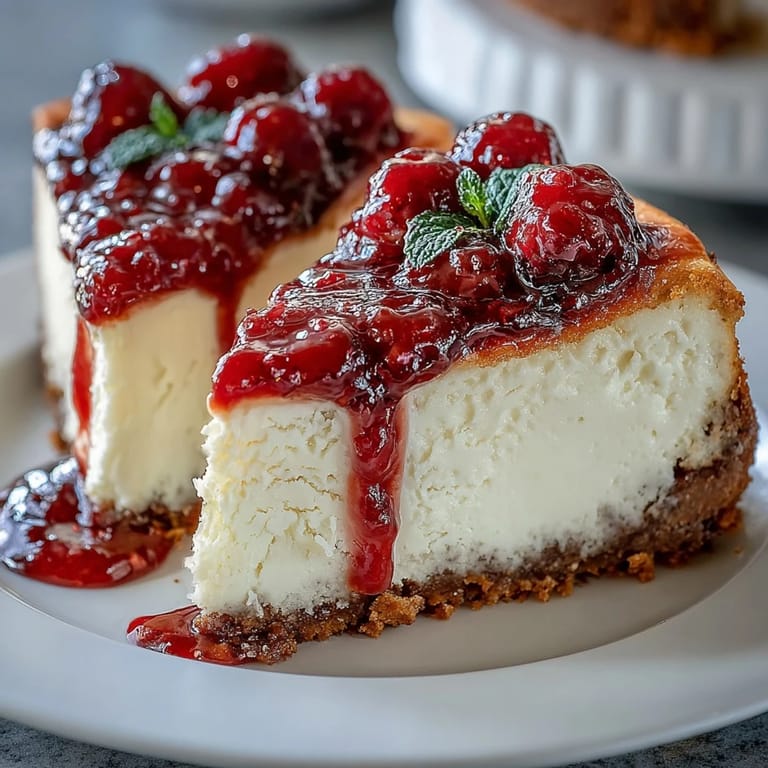
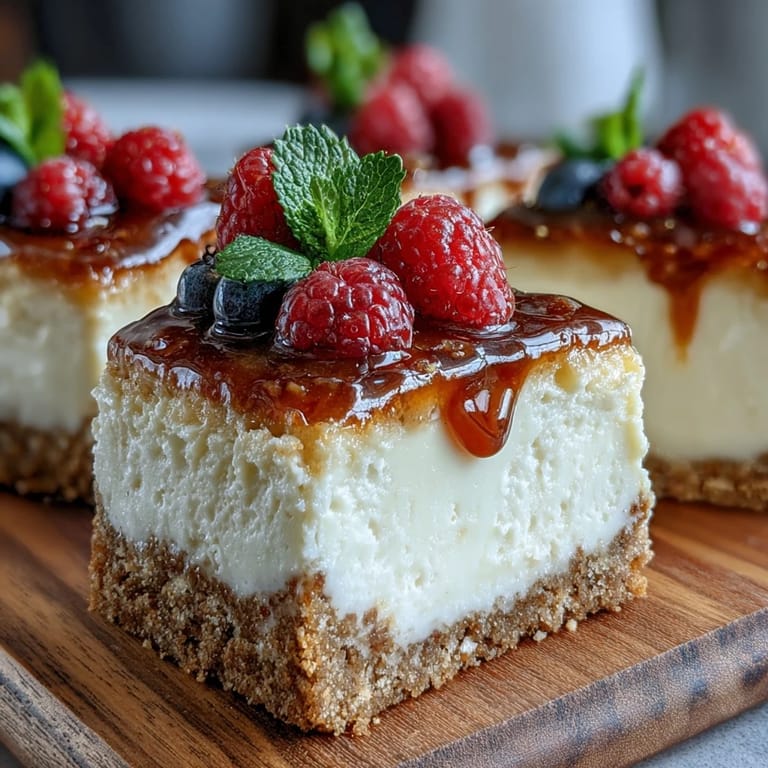
- Fresh mixed berries: Dice them small so they sit neatly on top; blueberries work best because they hold their shape, while raspberries add a delicate tartness.
- Fruit preserves (optional): Warming and brushing these over the berries adds a professional shine and locks in moisture.
- Diploma picks: You can buy them online or make your own with cardstock, twine, and a little creativity for a personalized touch.
Tired of Takeout? 🥡
Get 10 meals you can make faster than delivery arrives. Seriously.
One email. No spam. Unsubscribe anytime.
Instructions
- Prepare your workspace:
- Preheat your oven to 325°F and line a 24-cup mini muffin pan with liners—this gentle temperature prevents the tops from cracking. Lining the pan ensures easy removal and keeps everything neat.
- Build the crust:
- Combine graham cracker crumbs, sugar, and melted butter in a bowl until it resembles wet sand, then press about a teaspoon firmly into each liner. Think of it like building tiny edible containers—pressing down creates a solid base that won't crumble when you add the filling.
- Toast the crust:
- Bake the empty crusts for 5 minutes until they're set but not brown, then let them cool slightly. This brief bake firms up the crust so it won't slide around when you add the wet filling.
- Mix the filling:
- Beat softened cream cheese and sugar until smooth and creamy—this takes about 2 minutes and should look cloud-like. Add the egg, vanilla, and sour cream gently, mixing just until combined; overbeating incorporates air and can cause cracks during baking.
- Fill and bake:
- Spoon about a tablespoon of filling over each cooled crust, smoothing the top slightly, then bake for 13 to 15 minutes. You're looking for centers that jiggle just slightly when you gently shake the pan—this means they're perfectly creamy inside, not overdone.
- Cool with patience:
- Let them cool in the pan for 15 minutes to prevent cracking from temperature shock, then transfer to a wire rack. This gradual cooling is the secret to smooth, crack-free tops.
- Chill and finish:
- Refrigerate for at least an hour until the cheesecake firms up and flavors settle, then top with fresh berries and add your diploma picks right before serving. If using fruit preserves, warm them slightly and brush gently over the berries for a jeweled appearance.
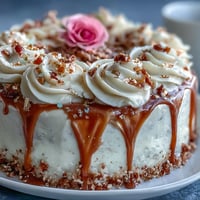
 Save to Pinterest
 At my cousin's graduation party, I watched these little bites become the unexpected centerpiece—not just of the dessert table, but of the entire celebration. People were taking photos, asking for the recipe, and the diploma picks made every bite feel like an edible congratulations message, which is exactly what these moments are all about.
Storage and Make-Ahead Magic
These cheesecake bites are actually better when made a day ahead because the flavors deepen and the texture becomes silkier. Store them in an airtight container in the refrigerator for up to three days; don't add the berries or picks until a few hours before serving to keep everything fresh and vibrant. You can also skip the topping entirely and store them plain, then dress them up right before guests arrive—this flexibility is part of why they're perfect for entertaining.
Flavor Variations Worth Trying
While these are perfect as written, I've had fun playing with additions that keep the same simple spirit. A teaspoon of lemon zest mixed into the filling adds brightness that plays beautifully with berries, or you can swirl in a touch of melted dark chocolate for richness. Even a tiny pinch of cinnamon in the crust creates an unexpectedly cozy depth that makes people ask what that subtle flavor is.
Party Planning Tips
These bites solve the eternal party problem: how to serve something that feels special without spending all day in the kitchen beforehand. They're small enough that guests feel like they can indulge, sturdy enough to pick up with napkins while mingling, and elegant enough that no one would guess you made them in less than an hour of active work. The diploma picks transform them from simple desserts into themed decorations that make the occasion feel intentional and celebratory.
- Bake them up to two days ahead and keep them plain, then add berries and picks on the day of the party for maximum freshness.
- If you're making these for a large crowd, the recipe doubles easily—just use a second muffin pan and bake at the same temperature.
- Set up a small display with the diploma picks visible so guests know these are meant to be celebratory, not just another dessert.
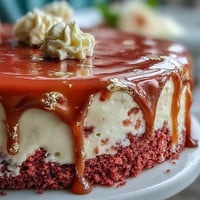
 Save to Pinterest
 These cheesecake bites have become my go-to for any celebration that deserves something more than ordinary. They're proof that some of the best moments around food come from simple, thoughtfully made things shared with people you care about.
Ask About This Recipe
- → How long should I chill the cheesecake bites?
Chill the cheesecake bites for at least 1 hour to allow them to firm up and develop their creamy texture.
- → Can I use gluten-free graham crackers for the crust?
Yes, gluten-free graham crackers can be substituted in the crust to accommodate dietary needs.
- → What is the best way to add shine to the berry topping?
Warm fruit preserves can be brushed lightly over the berries to give them a glossy, appealing finish.
- → Can these bites be made ahead of time?
Yes, you can prepare and chill the cheesecake bites in advance and keep them refrigerated in an airtight container for up to 3 days.
- → What tools are needed for making these bites?
A mini muffin pan, electric mixer, mixing bowls, measuring cups and spoons, and a wire rack are essential.