 Save to Pinterest
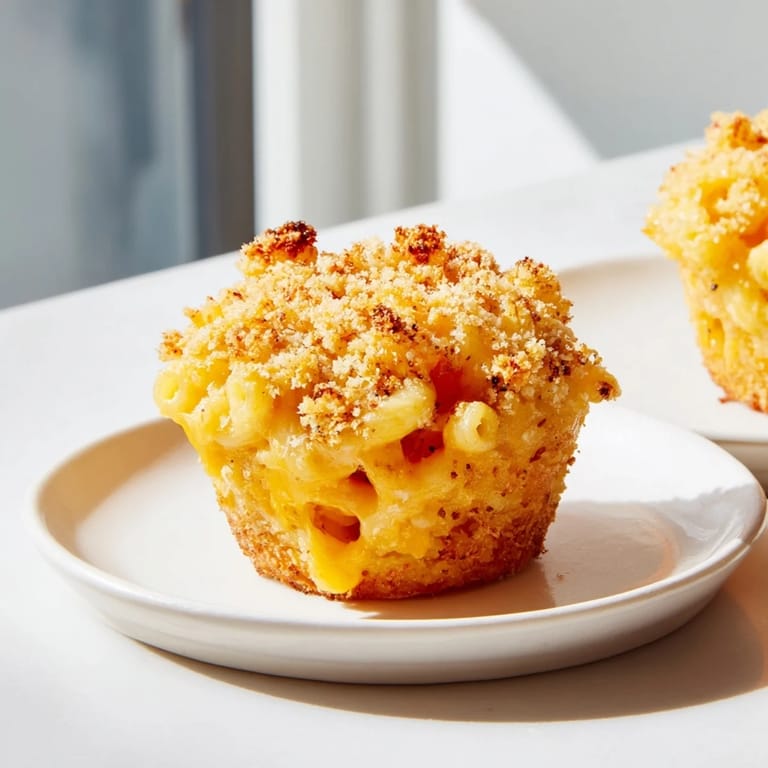
 My friend Sarah arrived at my apartment on a rainy Tuesday with a box of mini muffin tins she'd just bought, convinced we should turn her leftover mac and cheese into something "shareable." I laughed at first—mac and cheese already is comfort food, why mess with it?—but then it clicked. What if we could capture all that creamy, crusty goodness in bite-sized form? By the time we pulled the first batch from the oven, golden and bubbling at the edges, we both knew we'd stumbled onto something special.
I brought a batch of these to my nephew's school bake sale, labeled them as "Mac and Cheese Muffins," and watched the parents do a double-take at the description. By the end of the sale, they were completely gone, and I had requests for the recipe from three different families. That's when I realized these little cups weren't just a fun twist—they were the answer to making comfort food feel like a celebration.
Ingredients
- Elbow macaroni (200 g): Cook it slightly under al dente—it'll finish cooking in the oven and stay tender rather than turning mushy, which I learned the hard way on my first attempt.
- Unsalted butter (2 tbsp, plus 1 tbsp melted for topping): Butter is the foundation of your sauce, so don't skip it or substitute oil; it adds richness that other fats can't match.
- All-purpose flour (2 tbsp): This thickens your sauce without any lumps—whisk it into the butter for a full minute before adding milk to cook out the raw flour taste.
- Whole milk (240 ml): Use full-fat milk for creaminess; skim milk will make the sauce feel thin and sad no matter how long you cook it.
- Sharp cheddar cheese (100 g): The sharp variety brings actual flavor, not just dairy filler—mild cheddar will disappear into the background.
- Mozzarella cheese (40 g): This keeps everything stretchy and helps bind the sauce without making it grainy.
- Parmesan cheese (40 g, plus 2 tbsp for topping): The salty, nutty bite of Parmesan is the secret ingredient that makes people ask what you did differently.
- Dijon mustard (½ tsp): Just a whisper of it, but it adds depth and keeps the cheese from tasting one-dimensional.
- Garlic powder, onion powder, salt, and black pepper: These humble seasonings round out the flavors so the dish feels complete rather than flat.
- Panko breadcrumbs (50 g): Panko stays crisp longer than regular breadcrumbs and gives you that satisfying crunch with every bite.
Tired of Takeout? 🥡
Get 10 meals you can make faster than delivery arrives. Seriously.
One email. No spam. Unsubscribe anytime.
Instructions
- Get your oven ready and prep the tin:
- Preheat to 200°C and grease your 12-cup muffin tin generously—this is not the time to assume nonstick spray will do all the work. I learned this when my first batch stuck like it was welded in place.
- Cook the pasta until it's almost there:
- Boil your salted water and add the elbow macaroni, cooking for about one minute less than the box instructs. You want it tender but with just a tiny bit of resistance, because it's going back in the oven.
- Build your cheese sauce base:
- Melt butter over medium heat, then whisk in flour and cook for a full minute, stirring constantly so it becomes a fragrant paste. This step is worth the extra minute—it prevents lumps later.
- Create the creamy sauce:
- Slowly pour in milk while whisking, making sure there are no lumps forming as it heats. Keep whisking and cooking for 3–4 minutes until it coats the back of a spoon.
- Add the cheese and seasonings:
- Remove from heat, then add all three cheeses along with the mustard, garlic powder, onion powder, salt, and pepper. Stir gently until every thread of cheese has melted and the sauce is smooth and glossy.
- Combine pasta with sauce:
- Pour the cooked macaroni into the cheese sauce and fold everything together, making sure each piece of pasta gets coated. The sauce should cling to the pasta like it's meant to be together.
- Fill the muffin cups:
- Divide the mac and cheese mixture evenly among the 12 cups, using the back of a spoon to press down gently so they're well packed but not compressed. This ensures they bake through and hold their shape.
- Make and add the topping:
- Combine panko, melted butter, and Parmesan in a small bowl, then sprinkle generously over each cup. The butter will help the breadcrumbs toast golden.
- Bake until golden and crisp:
- Bake for 15–18 minutes until the tops are golden brown and you can see the cheese bubbling slightly at the edges. A few minutes difference in your oven won't ruin them, but you want them set inside and crispy on top.
- Cool and release:
- Let them sit in the tin for 5 minutes—this gives the cheese time to set just enough that they'll hold together. Then run a thin knife around each edge and gently lift them out, optionally garnishing with fresh parsley for color.
 Save to Pinterest
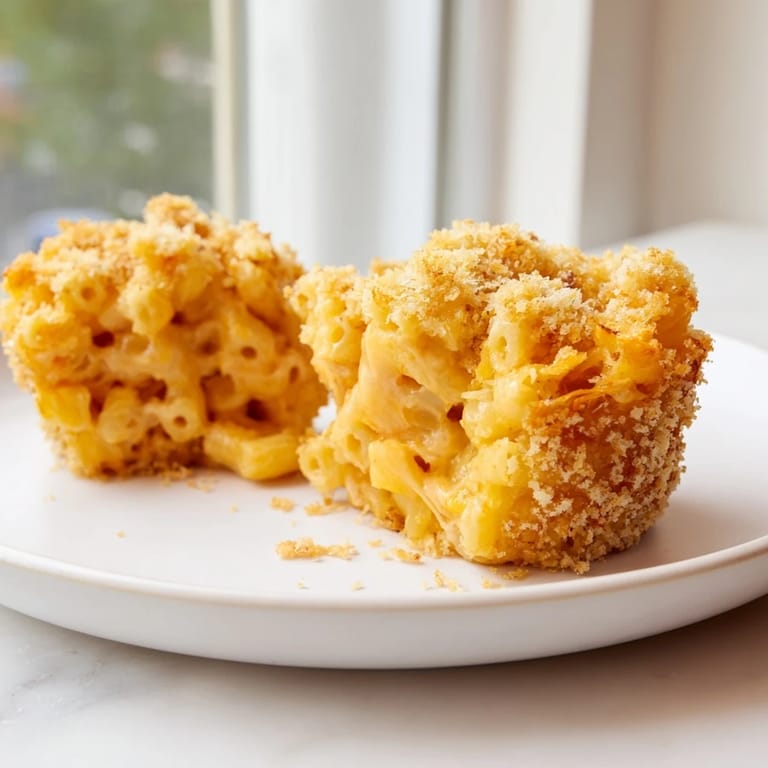
 I remember my partner taking one bite straight from the cooling rack, eyes lighting up like he'd just discovered gold. "These are dangerous," he said, reaching for a second one. That's when I knew I'd created something that transcended the category of "cute idea" and entered the realm of genuinely delicious.
Make-Ahead Magic
These muffins are your secret weapon for meal prep or last-minute entertaining. You can make the entire batch up to two days ahead, store them in an airtight container in the fridge, and reheat them in a 180°C oven for about 10 minutes whenever you need them—they'll be warm and crispy just like they came straight from the oven the first time. I've also frozen them for up to a month and reheated them from frozen, adding just five extra minutes to the time, which means you always have comfort food on standby.
Flavor Variations Worth Trying
Once you've made these once and fallen in love, the door opens for creative detours. Swapping the sharp cheddar for Gruyère or Monterey Jack gives you different personality in each bite, while a pinch of smoked paprika stirred into the cheese sauce adds an unexpected whisper of smokiness. I've also tried adding crispy bacon bits to the topping or mixing a tiny bit of hot sauce into the sauce for people who like their comfort food with a kick, and every version has won fans.
Perfect Occasions for These Little Cups
Think beyond just dinner; these muffins are genuinely versatile little characters. They shine as part of a party spread where guests can grab them with one hand, they fit perfectly into lunchboxes as a warm snack that reheats beautifully in a microwave or toaster oven, and they're the kind of finger food that makes a casual gathering feel like you actually planned something special. I've served them at game nights, potlucks, school events, and even as a late-night snack right from the fridge when I wanted something more interesting than cereal.
- Bake them the morning of a party and reheat just before guests arrive for maximum impact.
- Let them cool completely, then wrap individually in foil or parchment to pack into lunchboxes for the week.
- Serve them at room temperature as finger food at gatherings where you don't have access to an oven for reheating.
 Save to Pinterest
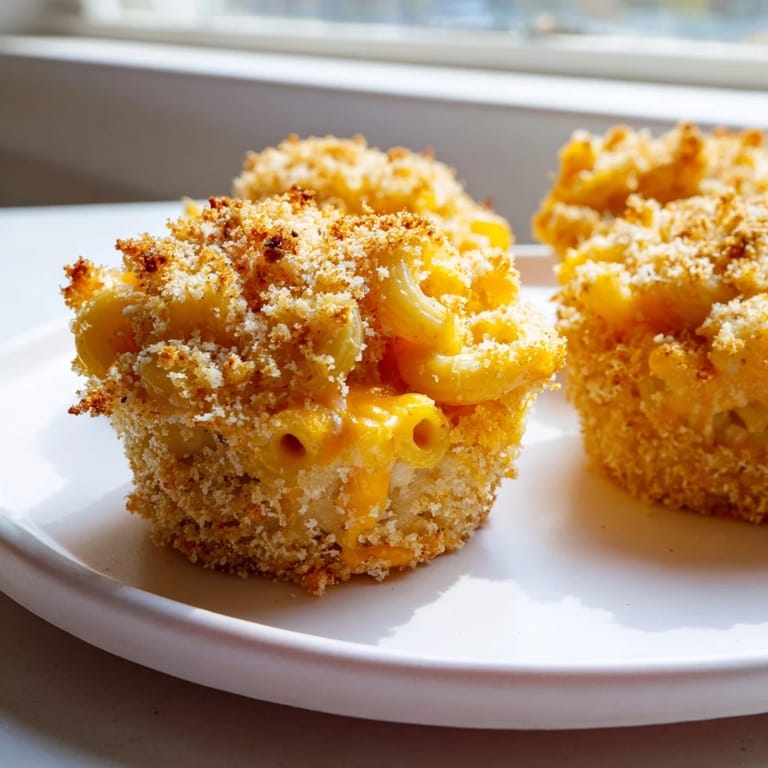
 These muffins prove that the best food ideas often come from happy accidents and late-night kitchen experiments with friends. Make a batch this week and watch them disappear.
Ask About This Recipe
- → What type of pasta works best?
Elbow macaroni is preferred for its size and shape, which holds the cheese sauce well, creating a balanced bite.
- → Can I use different cheeses?
Yes, swapping cheddar for Gruyère or Monterey Jack offers varied flavor profiles while maintaining creaminess.
- → How do I achieve a crispy topping?
Mix panko breadcrumbs with melted butter and Parmesan cheese, then sprinkle over each muffin before baking for a golden crust.
- → Can these be prepared in advance?
Mini muffins can be made ahead and reheated in a 180°C (350°F) oven for about 10 minutes to regain crispiness.
- → Are these suitable for vegetarian diets?
Yes, they contain no meat and rely on dairy and pasta, making them vegetarian-friendly.